
Watch this short step-by-step video on how to connect your email within HubSpot.
Prefer to read vs watch? No problem, you can read through the steps below
Start by going to your general settings (gear icon in upper right corner).
On the left hand side under Preferences, click General.
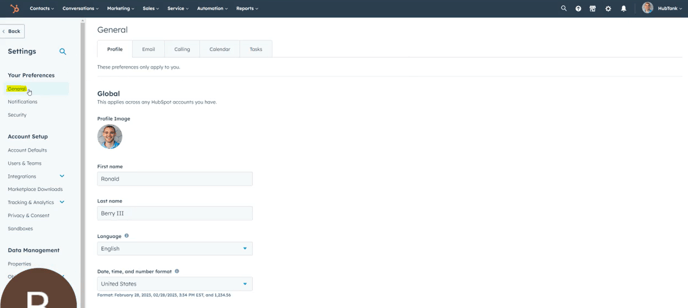
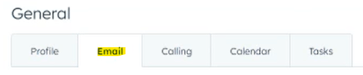
Now, click the Email tab
Click the orange button, Connect personal email
-
- I recommend to have the Turn on inbox automation box checked - this allows you to collect basic personal information such as First/Last name, email, and phone number from your contacts who you're emailing directly from Gmail or Outlook. For more information, you can read through HubSpot's article.
Click Connect your inbox, and enter your business email address.
HubSpot will automatically detect if your email is hosted by Gmail, Outlook, or Office 365.
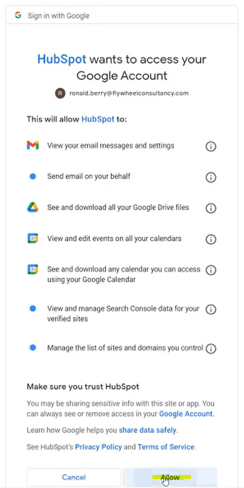
Click Connect to Gmail (or Outlook or Microsoft 365) and follow the sign-in prompts to choose which email address you'd like to connect. Then, click Allow.
Whether you're the business owner, Sales Rep, Marketing Rep, CEO, etc., do you want your emails to be tracked and logged in HubSpot as 'New Contacts' and 'New Companies' and have all activity (except for domains you exclude) log into your CRM?
-
- I generally recommend every Sales Rep to have this extension installed, as long as there aren't any complex integrations with other CRMs.
- If you're a CEO/Founder of your business, this highly depends on your use cases - if you email HR, Financing, Contractors, etc., and you don't want their information saved in your CRM, do not download this extension.
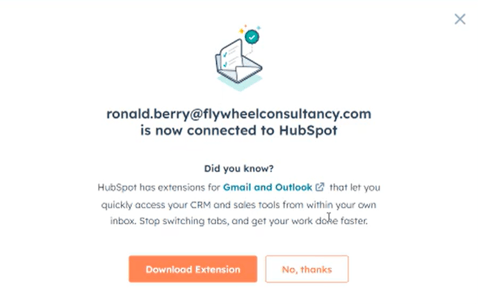
For those that do want to install this extension, click the orange button, Download Extension.
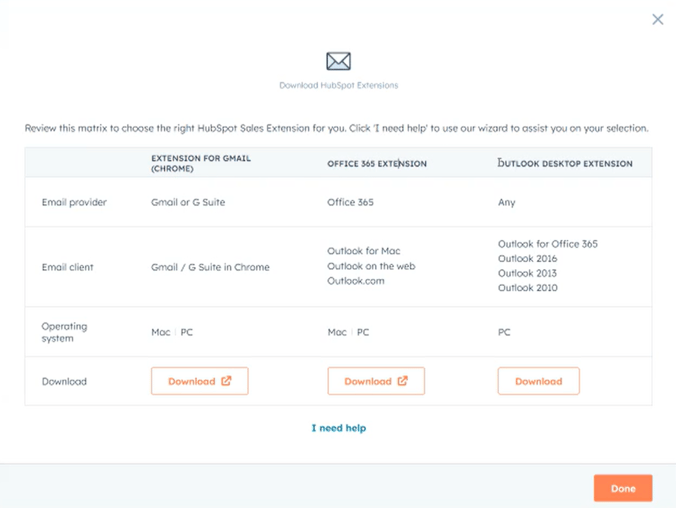
A new pop-up will appear - this is specifying whether or not you have Gmail, Office 365, or Outlook; and lets you know what operating system (PC or MAC) this extension is/isn't compatible with.
-
- NOTE: If you have a Mac and are using Outlook, this extension is NOT compatible with Mac, so you'll never choose this option.
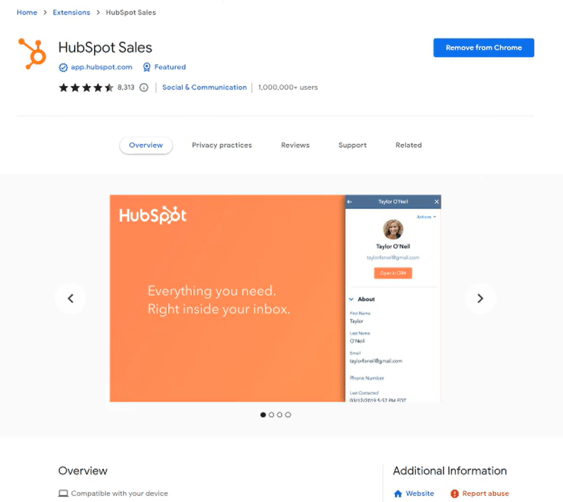
Once you choose which extension to download, you'll be redirected so you can add the extension to your browser -- I have Gmail, so this is what it will look like. Click the blue button, Add to Chrome.
After the extension is installed, you'll need to re-login to your Gmail, and a new pop-up will appear to log back into HubSpot through the add-on in Gmail.
Once you're logged in, any emails you send or receive in Gmail will now be saved as Contacts and Email activity in HubSpot.